Microsoft Viva Learning helps to develop personnel’s competence centrally. This is how you add the organization’s learning materials to the application.
Microsoft Viva Learning is part of the versatile Microsoft Viva platform that improves the working experience of employees, teams, and organizational communities.
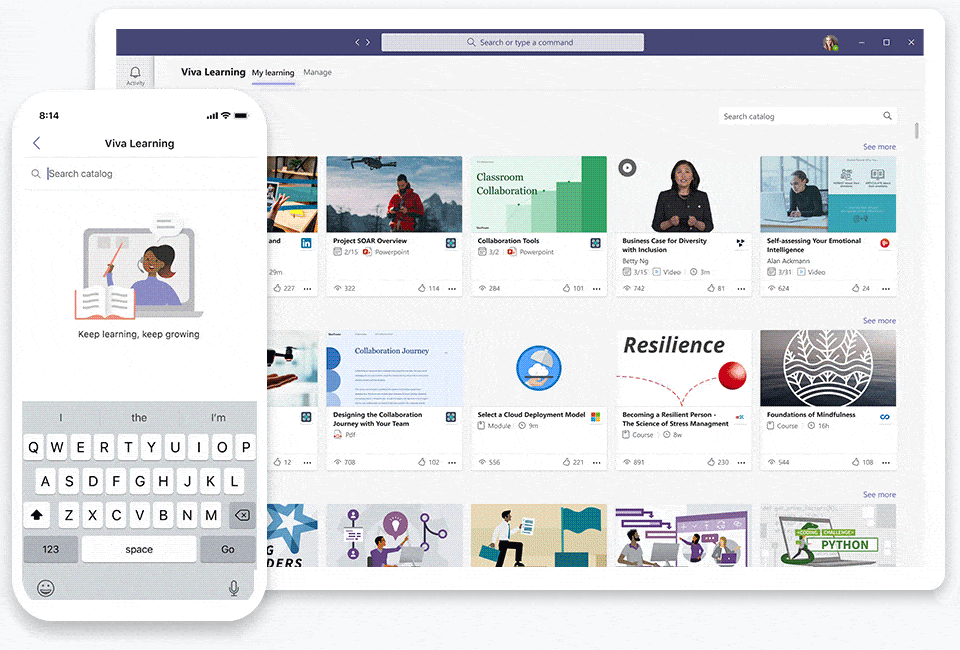
Microsoft Viva Learning centralizes learning and competence development to Teams.
Viva Learning is integrated with Microsoft Search, so you can search for learning content from the search bar of SharePoint, Office.com, the Office application, and Bing’s Work tab. Selecting a search result in one of these applications opens the information page for that content in the Viva Learning application.
The application allows you to use, share and recommend training content from Microsoft, LinkedIn, third parties, and your organization.
Adding the organization’s training content to Viva Learning
Adding your educational content to Viva Learning is easy. The most convenient way to do this is to define SharePoint as the content source. Adding content requires you to be the owner of that SharePoint site.
Adding content to SharePoint
Select the SharePoint site where you want to add Viva Learning training content.

Open the Documents tab and create a new folder where the content to be added to Viva Learning is copied.

Upload your selected content to a new folder. You can add the following file types:
- Word, PowerPoint, Excel, PDF
- Audio (.m4a, .mp3)
- Video (.mov, .mp4, .avi)
- Linked objects to internal content located in SharePoint and external content, such as YouTube or Vimeo videos (read instructions in English for creating linked objects here)

Adding metadata to content
The Microsoft Graph API automatically adds metadata to the files you upload, such as the modification date, the identity of the document creator, the file name and type, and the name of the organization.
You can improve the discoverability and search relevance of the educational content you add by adding metadata columns for description, thumbnail URL, duration, author, and tags.
Jotta metadatatiedot näkyvät oikein Viva Learningissä, täytyy ne lisätä täsmälleen samassa muodossa alla olevien ohjeiden mukaan.
For the metadata information to be displayed correctly in Viva Learning, it must be added in the same format according to the instructions below.
Click Add Column to add a new metadata column.

Adding a description as a new column
- Select Multiple lines of text
- Name the column as: ContentDescription
- Add custom descriptions for each product. If no description is provided, Viva Learning provides a default message that emphasizes that the content is from your own SharePoint library.
Adding the content name as a new column
- Select Multiple lines of text
- Name the column as: ContentTitle
- Add a custom title to each item. If no title is provided, Viva Learning will choose the file name as the title.
Adding a content format as a new column
- Select Multiple lines of text
- Name the column as: ContentFormat
- Add a shape to each item. If the format is not provided, Viva Learning will select the file type as the format, such as Excel, Word, etc.
Adding a thumbnail as a new column
- Select Hyperlink
- Name the column as: ThumbnailWebUrl
- Add an icon URL for each item.
Adding content duration as a new column
- Select Number
- Name the column as: Duration
- For each item, add a duration in seconds.
Adding content tags as a new column
- Select Managed metadata
- Name the column as: SkillTags
- Click More settings
- Click on Allow multiple values
- You can either use a predefined term set or a custom term set.
Adding content access rights to user groups
After adding content, return to the main view of the Documents section. Click on the content folder at the three dots and select Manage access.

Click the + sign in the new window.

Add the Microsoft 365 groups you want to share access to the educational content you’ve added. Only these groups can see the content in Viva Learning. A user with the site owner or site contributor access level can add rights to M365 groups.
Members of added groups automatically get editing rights. You can choose either editing or viewing rights for the group.
Note that Viva Learning does not support user-level permissions, so you can only add M365 groups.

Next, go to the admin center.

Click Settings and Organization settings.

On the Services tab, click Viva Learning.

A new window opens on the right side. Scroll down the view and activate the item SharePoint. Add the link of the SharePoint site you want to sync with Viva Learning.

This creates a repository where you can create multiple content folders from different SharePoint sites.
Adding educational content located in SharePoint to the Viva Learning content catalog
In SharePoint, copy the folder link where the training content is located.

Go to the Site Content section of the SharePoint site and click on Learning App Repository.

Click New and add a name to the educational content folder and paste the link you copied.

The content you add will appear in the Viva Learning app after 24 hours.
You can add and remove content in that storage location at any time.